Using DJ accounts
This article is about a legacy Centova streaming system. We no longer offer it for our streaming packages; please consider using RadioBOSS Cloud.
The up-to-date manual for RadioBOSS Cloud: DJ accounts.
DJ accounts are used in situation where multiple DJ’s take part in broadcasting or where you need to configure automatic switching between live broadcasting and AutoDJ.
To configure broadcasting for use with DJ accounts (using RadioBOSS as an example, for the other broadcasting programs are configured the same way), you need to make sure that AutoDJ is properly configured, since this option only works when AutoDJ is on. The AutoDJ configuration guide can be found here.
To start you need to create DJ account in the Centova control panel.
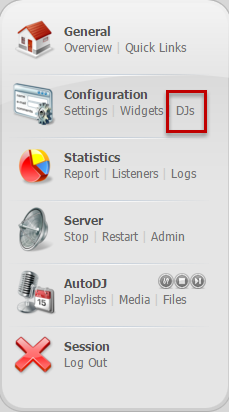
Select the DJs on the left:
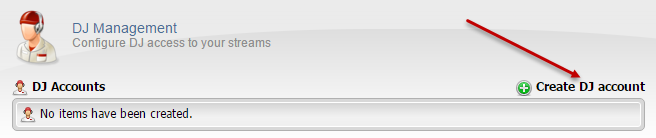
Then click Create DJ account:
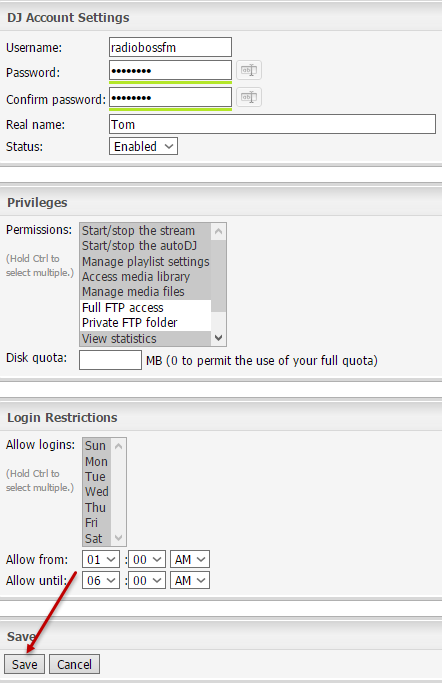
Enter your DJ Account Settings and click the Save button:
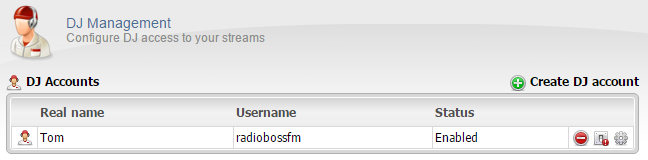
You have created DJ account:
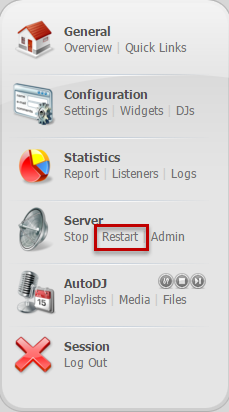
Once done, you need to restart the server, click the Restart button in the control panel:
To set up Live broadcasting using DJ account in RadioBOSS (settings are similar for any other broadcasting software), click in the top menu bar Settings -> Settings. Then – section Broadcast, select to add a new encoder, click the “+” button:
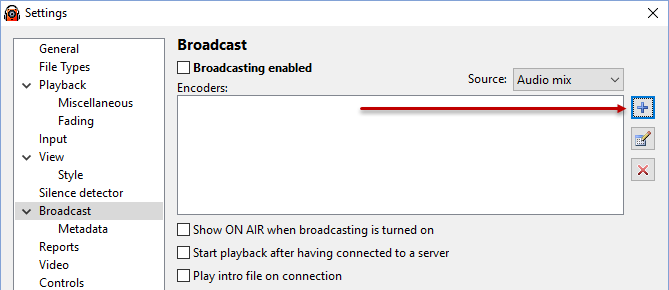
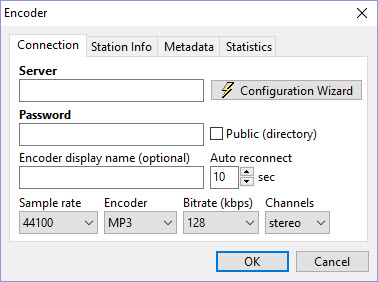
The encoder window will open:
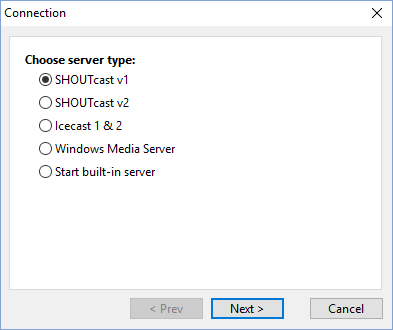
For both SHOUTcast and Icecast servers use the Shoutcast v1 server type!
Click the Configuration Wizard button and select SHOUTcast v1 server.
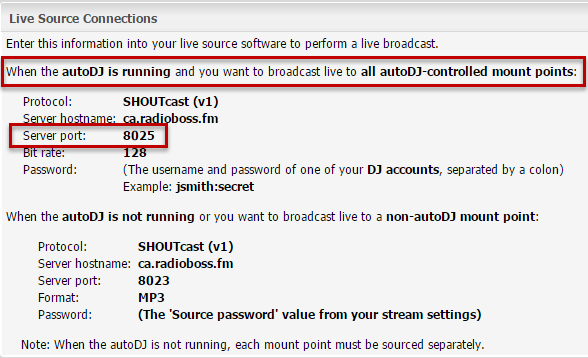
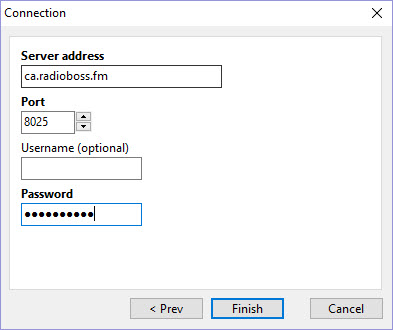
Click the Next button. Then enter your Server address and Port (Port you can see in Centova in the Quick Links section – “When the autoDJ is running and…”). Enter Username, Password for your DJ account.
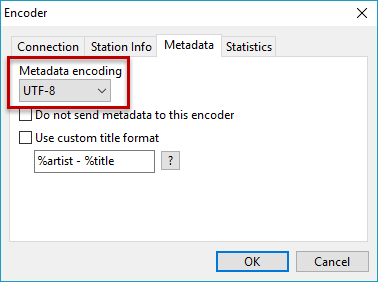
To broadcast, you also need to specify the metadata encoding in the program. To do this, select UTF-8 encoding in the Metadata tab.
Once you have entered all the settings, click Finish and OK.
On successful connection, the report in the bottom-left corner will show the following message: Connected to server! (output N). It means that listeners can connect to the streaming server and listen to your radio.
If the setup is incorrect, RadioBOSS (or other program) will show an error message in the report. The error message will describe the problem and show the number of the encoder that failed to start (e.g. “output 1”). If this is the case, open the Settings window, select that encoder in the list, and click the Edit button to fix the configuration. Click here to find out what an error message means and how you can fix it.